2021 Video playlist


This Website is Dedicated to our son Michael Carroll & Dino
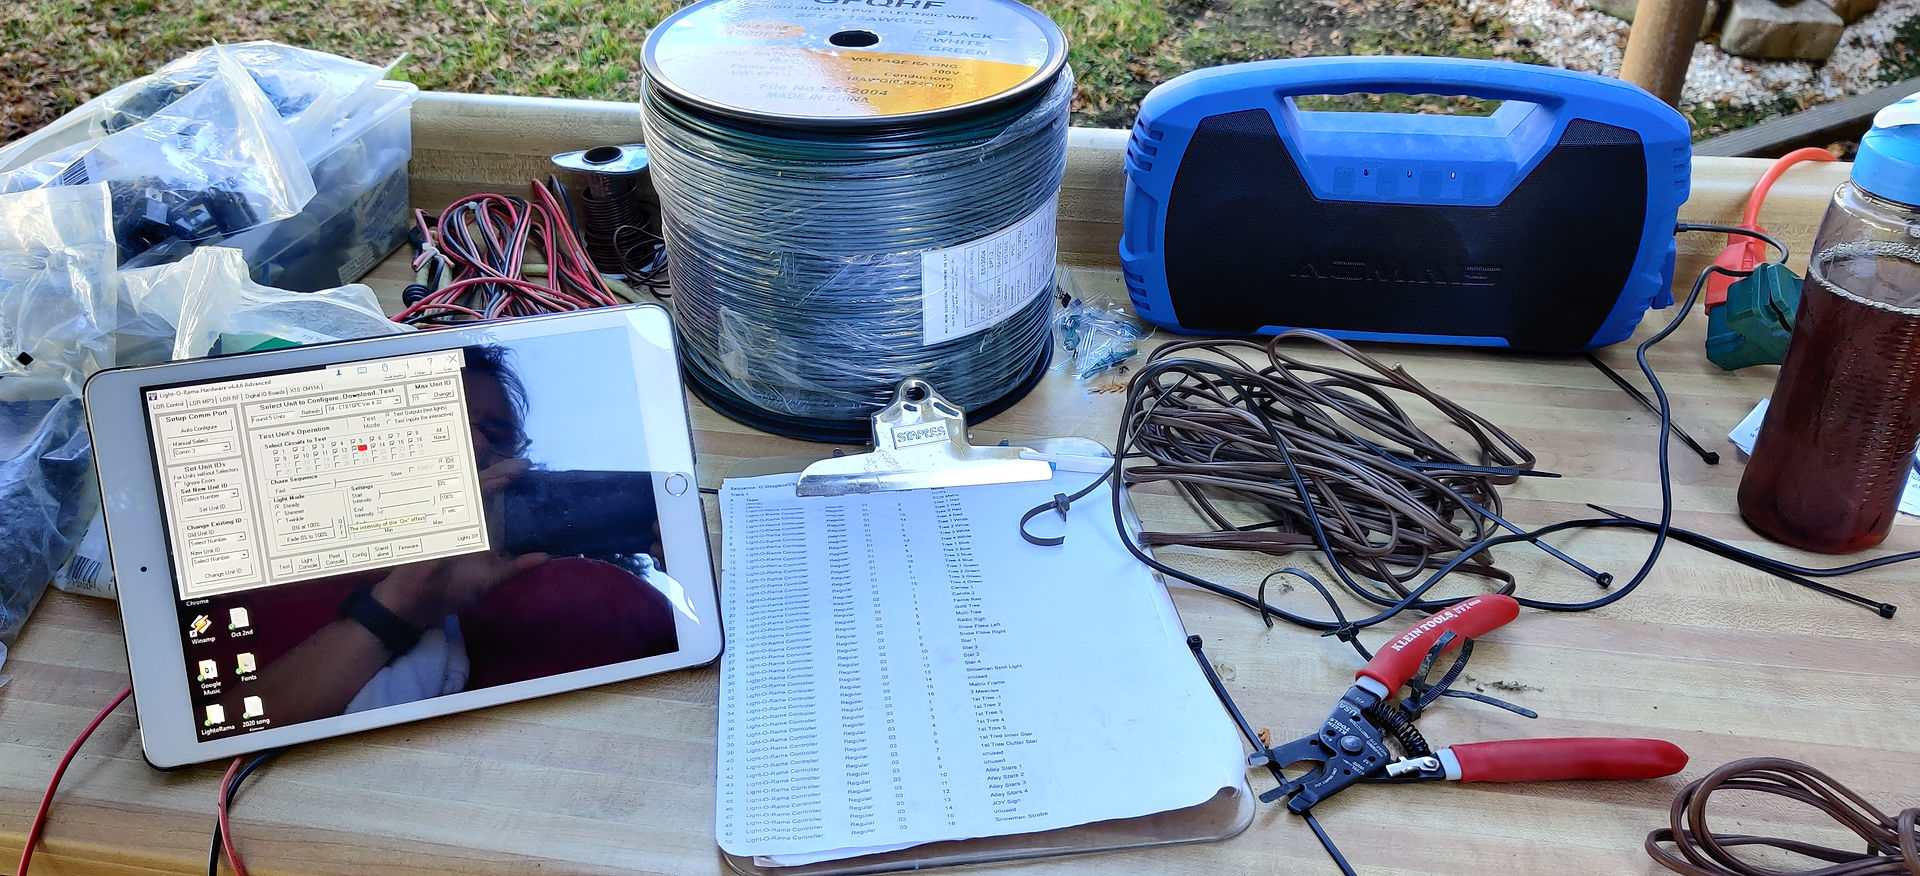
(Below is the very basic concept, Just to give you an understanding of "How it Works" you can put 100's of hours into sequencing and display setup, along with your electrical needs to power up the light show and make it safe)
The following instructions will show you how to setup a show:
Step 1: Setup Sequence
Sequences tell the controllers when to do different effects with your lights. Each controller's 16 independent channels can turn on, off, set to a specified brightness, fade up or down, twinkle, and shimmer.
Setup a sequence using the Light-O-Rama Sequence Editor to time when effects will occur on different controller outputs.
A demo of the Light-O-Rama Sequence Editor can be downloaded here
Step 2: Plug In Lights
Using Light-O-Rama controllers you can control 16 independent outputs. Each of these outputs can be plugged into a different section of your home. For example, the following output configurations can be used:
Christmas: 3 Output Santa (Outline, Mouth Open, Mouth Closed), 2 House Outputs, 10 Yard Outputs. You can purchase the Santa here or purchase the Christmas package here.
Halloween: 2 3-Output Pumpkins (Outline, Eyes & Nose, Mouth) (6 Outputs), 5 Tombstones, 2 strobe lights, 1 green flood light, and 1 red flood light.
4th of July: 1 output for each stripe (13), one for the stars, and one for the blue. You can purchase these in a United States Flag Kit here.
Before you begin to setup sequences it is best to make a list what lights each output will control, so you can configure your outputs in the Light-O-Rama
Sequence Editor.
Step 3: Connectivity
Your computer communicates with your light controllers using a RS-485 adapter that is plugged into a serial or USB port on your computer. From the RS-485 adapter you can connect your controllers in a wired setup or a wireless setup.
Wired: In the wired setup you connect a standard CAT-5 cable from the RS-485 adapter to each controller. The USB485 adapter can be purchased here. CAT-5 cable can be purchased here.
Wireless: In a wireless setup the CAT-5 cable connection from the RS-485 adapter to the controller is replaced with two wireless linkers. This allows you to easily get the signal from inside your home to the first controller. Each additional controller would be connected using CAT-5 cables or additional wireless linkers. The USB485B (includes a signal booster to allow for wireless connectivity) can be purchased here. Wireless linkers can be purchased here.
Step 4: Controllers
Your computer tells your Light-O-Rama controllers when to trigger your lights. Each of the controller's 16 independent channels can turn on, off, set to a specified brightness, fade up or down, twinkle, and shimmer.
To purchase an assembled Light-O-Rama controller click here.
To purchase the kit version of the Light-O-Rama controller click here.
The Cosmic Color Ribbon (another type of controller for RGB)
In addition you also need an enclosure for all of the CCR Controllers and power supplies and a frame to build the screen on. For example you could pound about 5 1x2 wood stakes into the ground, attach chicken wire to them, and then use zip ties to attach the color ribbons to the chicken wire. The ribbons are about 16.5 feet long and we recommend a 4in gap between them so that would make the screen size about 16.5 feet wide X 4 feet tall. Our CCR Screen Sequences are setup for controllers on the right side of the screen.
This is how I have my setup, except I attached my ribbons to my 5ft chain link fence
An Advanced software license is required to run the screen and a 24 CCR SuperStar license is required to make changes to the sequence.
Step 5: Sound
To allow your visitors to hear the music you can use an outdoor rock speaker or use a low power FM Transmitter to broadcast the music to car stereos or other radios.
Rock Speaker: Your computers audio output plugs into an audio input on a home stereo receiver. The receiver's outputs are plugged into the rock speaker. You can purchase speakers and speaker wire here.
FM Transmitter: You computers audio output plugs into the audio input on a FM Transmitter. You set an unused frequency to use and then listen to the frequency on any radio within 300 feet. You can purchase a FM Transmitter here.
Step 6: Setup Show
Setup your show in the Light-O-Rama Show Editor. The Show Editor tells your computer the order to play sequences in. You can setup the following types of sequences in a show:
Background: Sequences that play in the background while your show is playing.
Startup: Sequences that play when your show starts.
Animation: Sequences that trigger outputs without music.
Musical: Sequences that trigger outputs that are timed to music.
Shutdown: Sequences that play when your show finishes.
Step 8: Enable Shows
Once you have saved your schedule, you can start your display by right-clicking the light bulb in your system tray (next to the clock) and clicking Enable Shows.
If the light bulb does not show up in your system tray first click the left arrow to show all the system tray icons. If you still don't see the light bulb, click on Start > Programs > Light-O-Rama > Control Panel to enable the Light-O-Rama Control Panel.